Hello there!
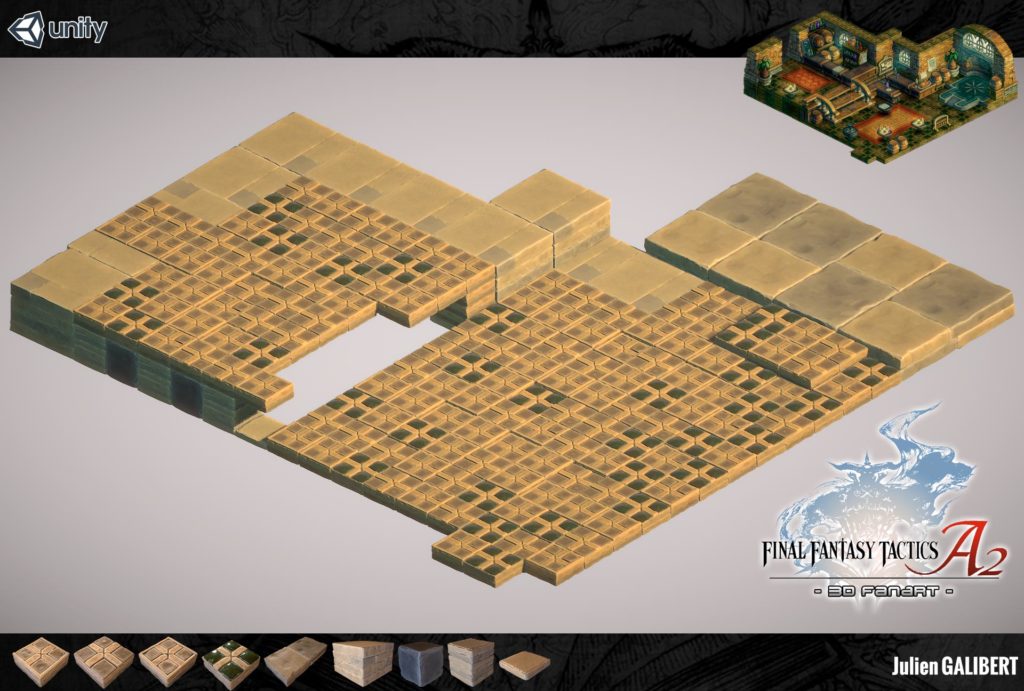
The article of the week will be dedicated to the floors creation of the inn for the Final Fantasy Tactics Advance 2 3D Fanart project!
The advantage is that the structure of the game is based on a box system: Each box is represented by a tile on the ground. When doing a 3D scenery, this is actually a very useful reference for the placement of objects.
The size of each object is calculated to fit the same dimensions, kind of like building blocks actually.
For the floor, I only had to create 4 different tiles, then I organized them. On my reference, we can see other types of tiles, some wider, some smaller – those I left for later.
Working with those kind of building blocks is very cool! 😀 It can be considered by a constraint but I take pleasure in following the composition illustrated by the reference.
For the graphic style, this was clearly new for me: D It was a radical change of flow compared to working on Edge of Eternity’s complex workflow.
Some others screenshots of Unity (Real time engine):
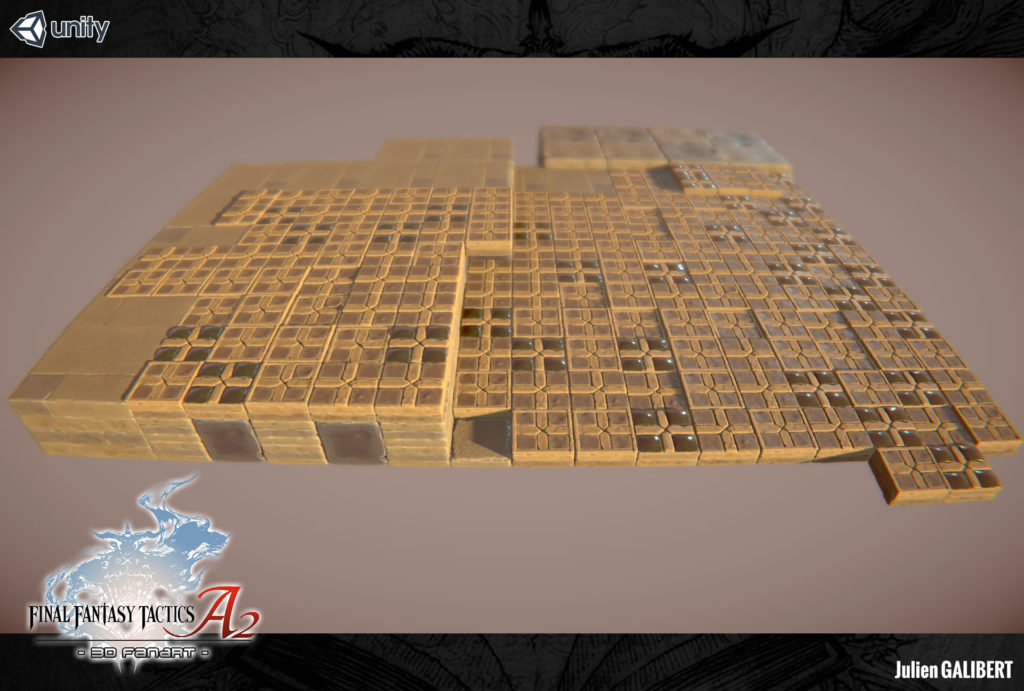
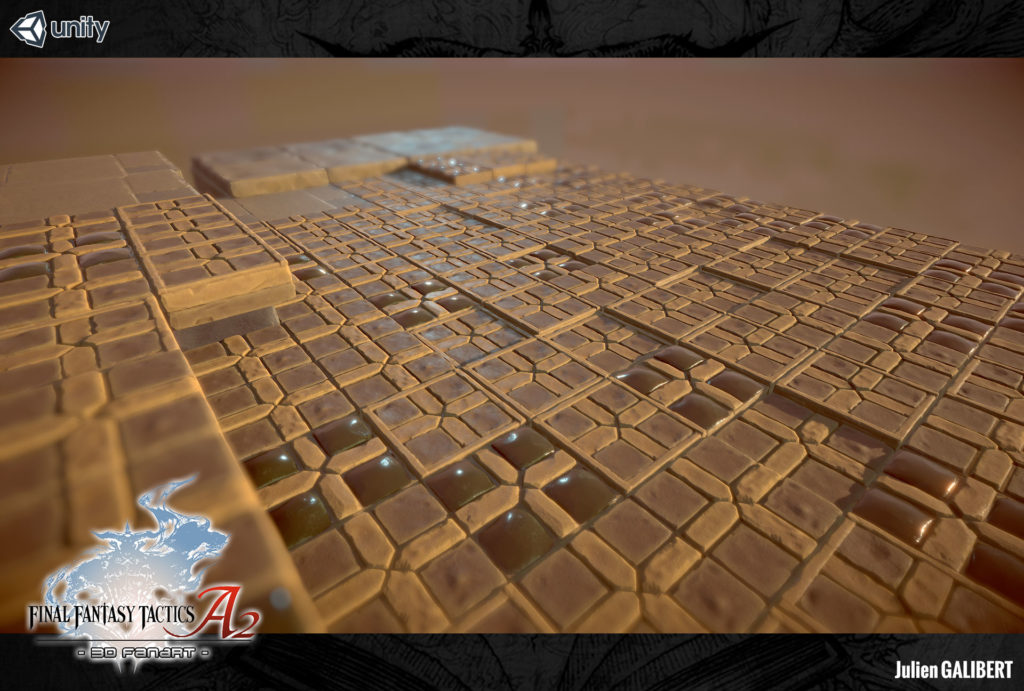
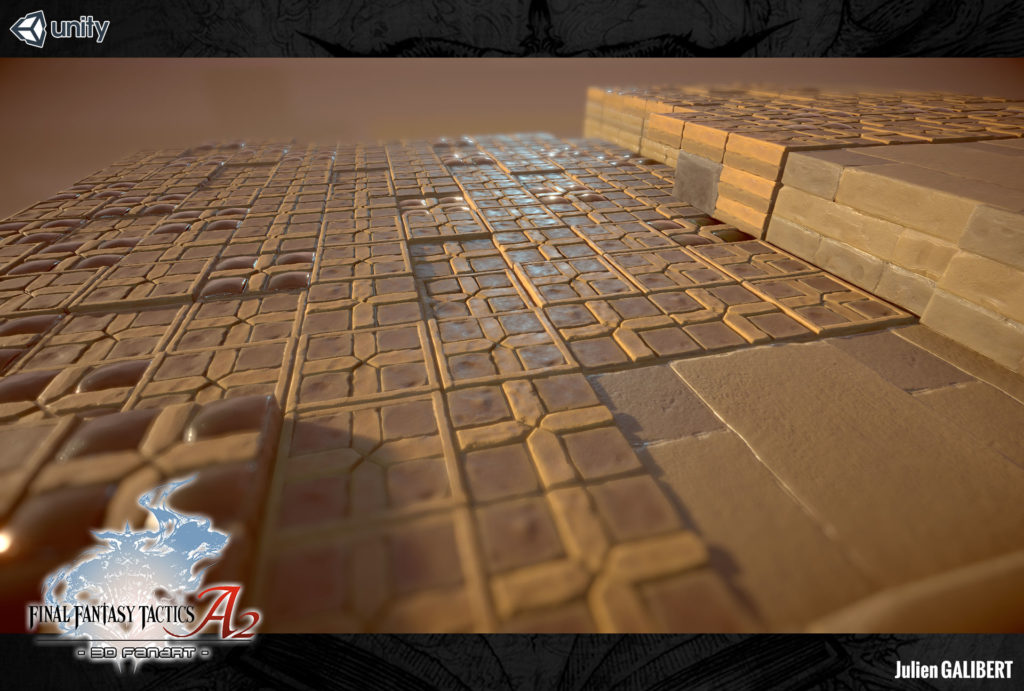
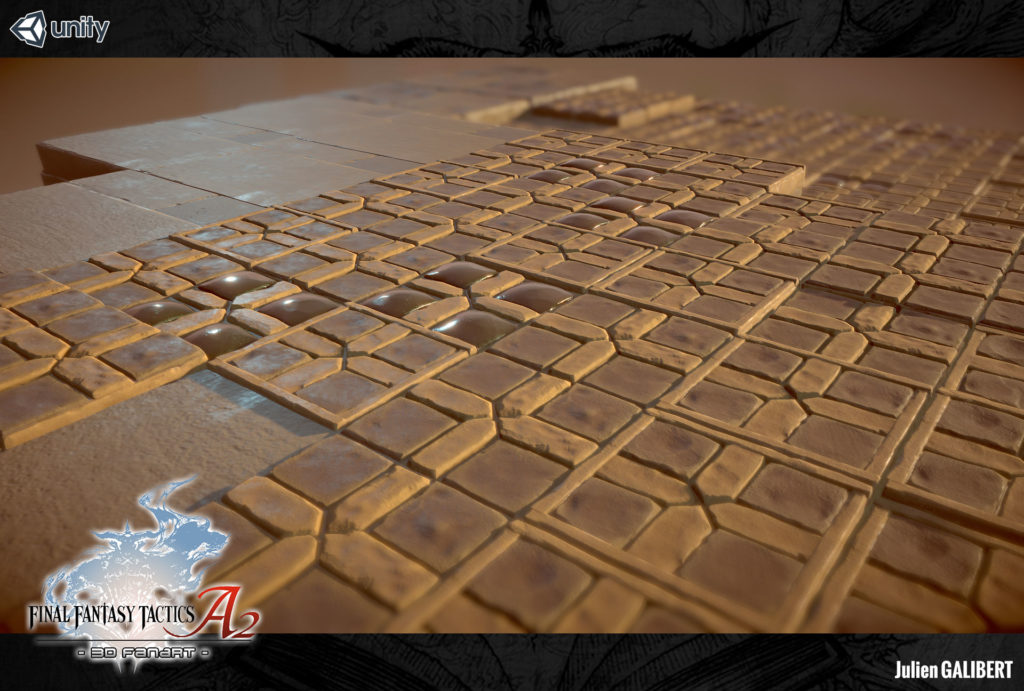
I struggle constantly against my urge to add small details on these tiles – here, simplicity is best !
Now, let’s have a surface overview of my workflow!
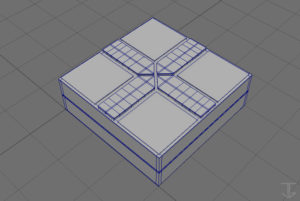
I often start by create a simple template of what I want to do with the 3D software “Maya”. It allows me to respect shapes, sizes and to have a good base for the next step.
|
|
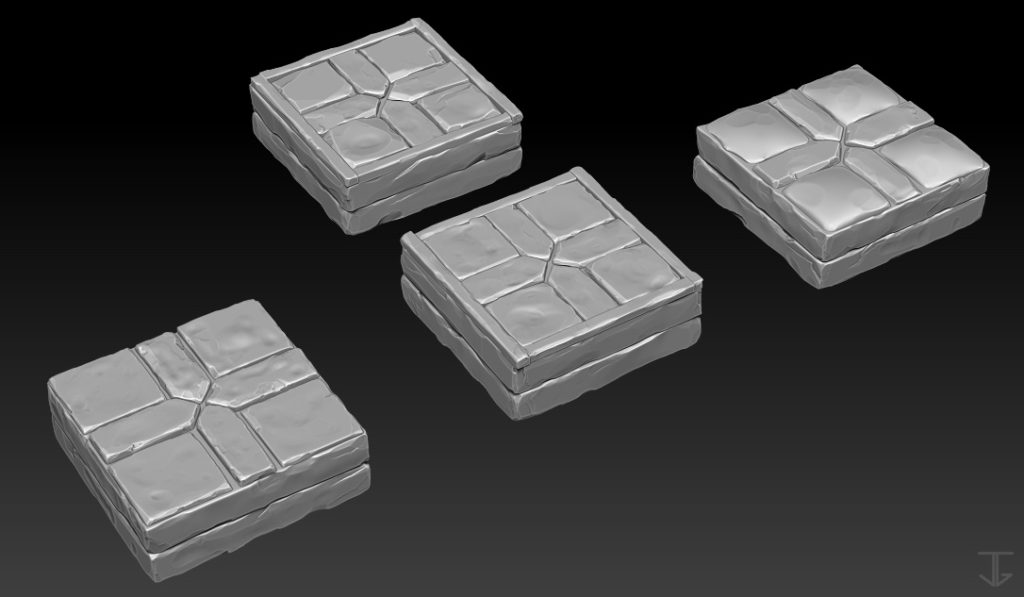
I use the template to create the sculpt version (High polygons version) on Zbrush. I add millions polygons and sculpt all details and surfaces.
|
|
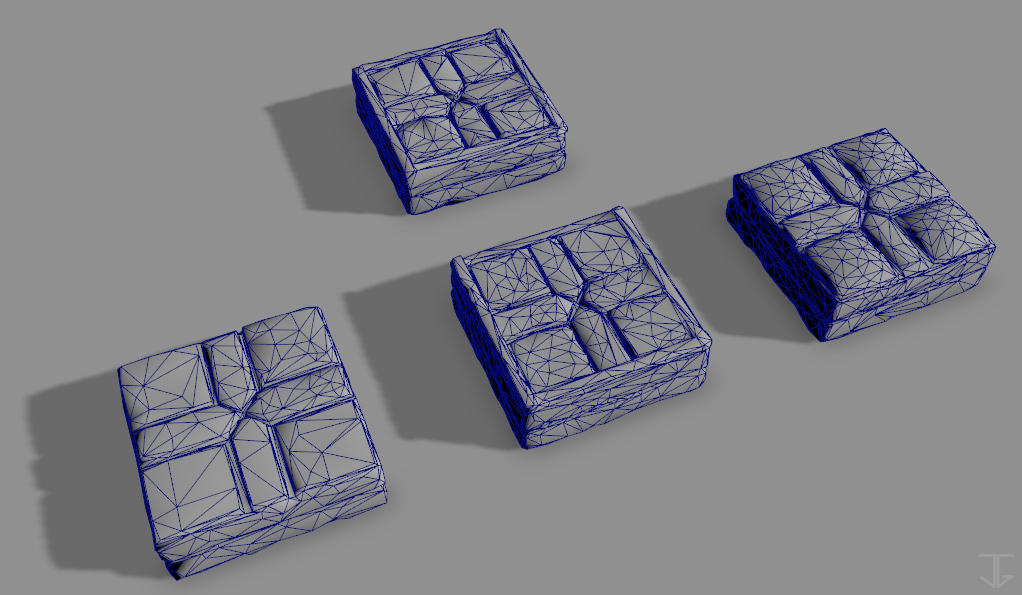
Now I have quite defined tiles with a good amount of polish, but i want a usable version for the real time engine, one thing that we call “low polygons” version (an optimized version).
So with a bit of processing, we can get some low-poly versions of what we had previously.
|
|
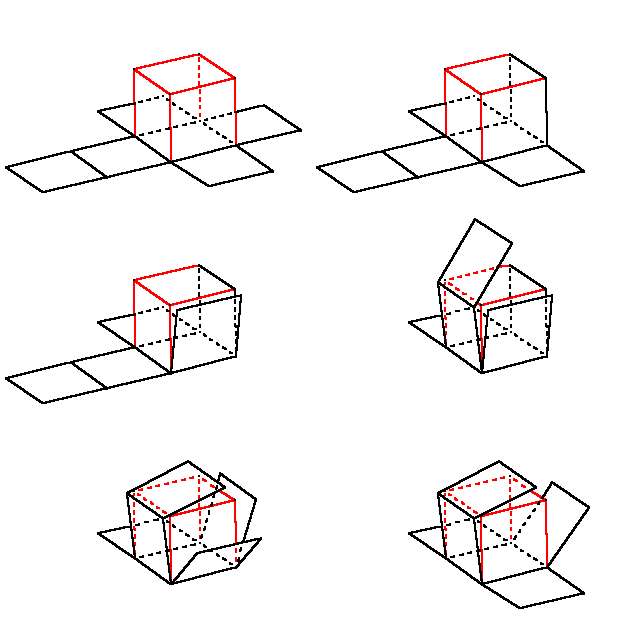
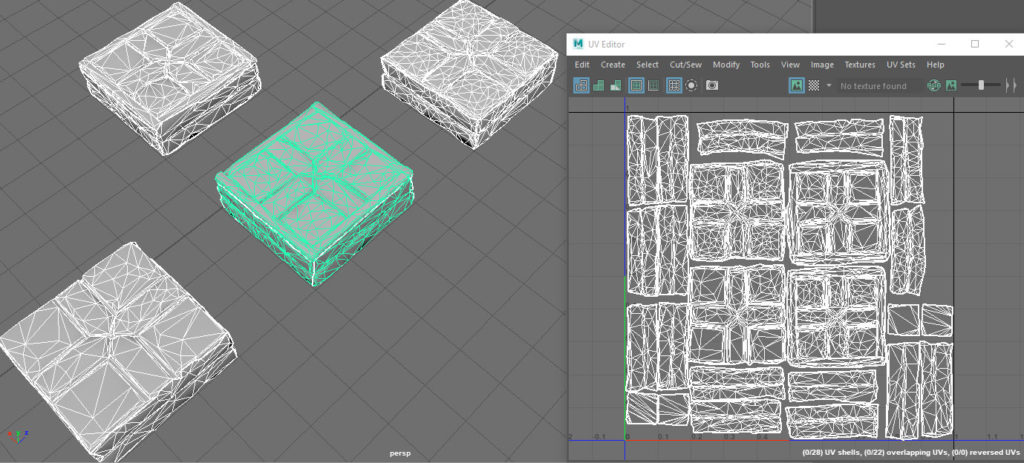
The next step is to unwrap it!
It the same way that this box:
|
|
To close the creating process, i use Marmoset toolbag 3 to “bake” High polygons version on the low polygons version (It’s simulate details of the high poly thanks to some textures)
And then I work on the tiles textures (colors, normal map..) on Substance Painter!
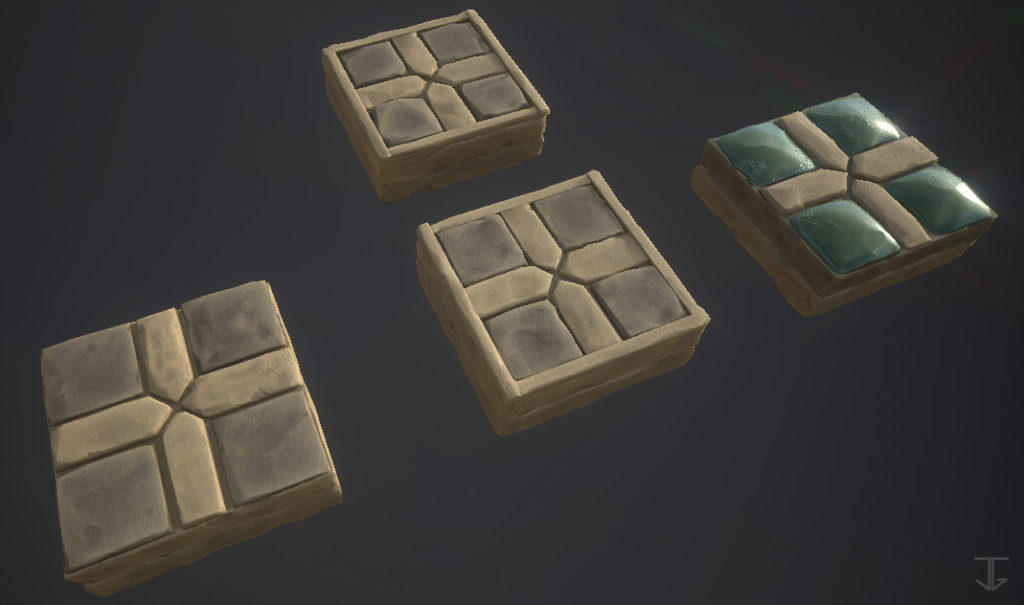
And…… It’s done !
It’s just one of the many possible way to obtain this result. And quite a basic one, at that!
This was a little warmup.^^
Don’t forget to check out my twitter and facebook page:
https://www.facebook.com/YurieDesign/
https://twitter.com/JulienPika
See you in the week for a surprise…! and next week we will see some major progress on this scene. I’ll say no more for the moment. ! 🙂

This iss a good tip especially to thse fresh tto the blogosphere.
Briwf but veryy axcurate info… Thnks foor sharing
this one. A must read article!