Hi friends ! 🙂
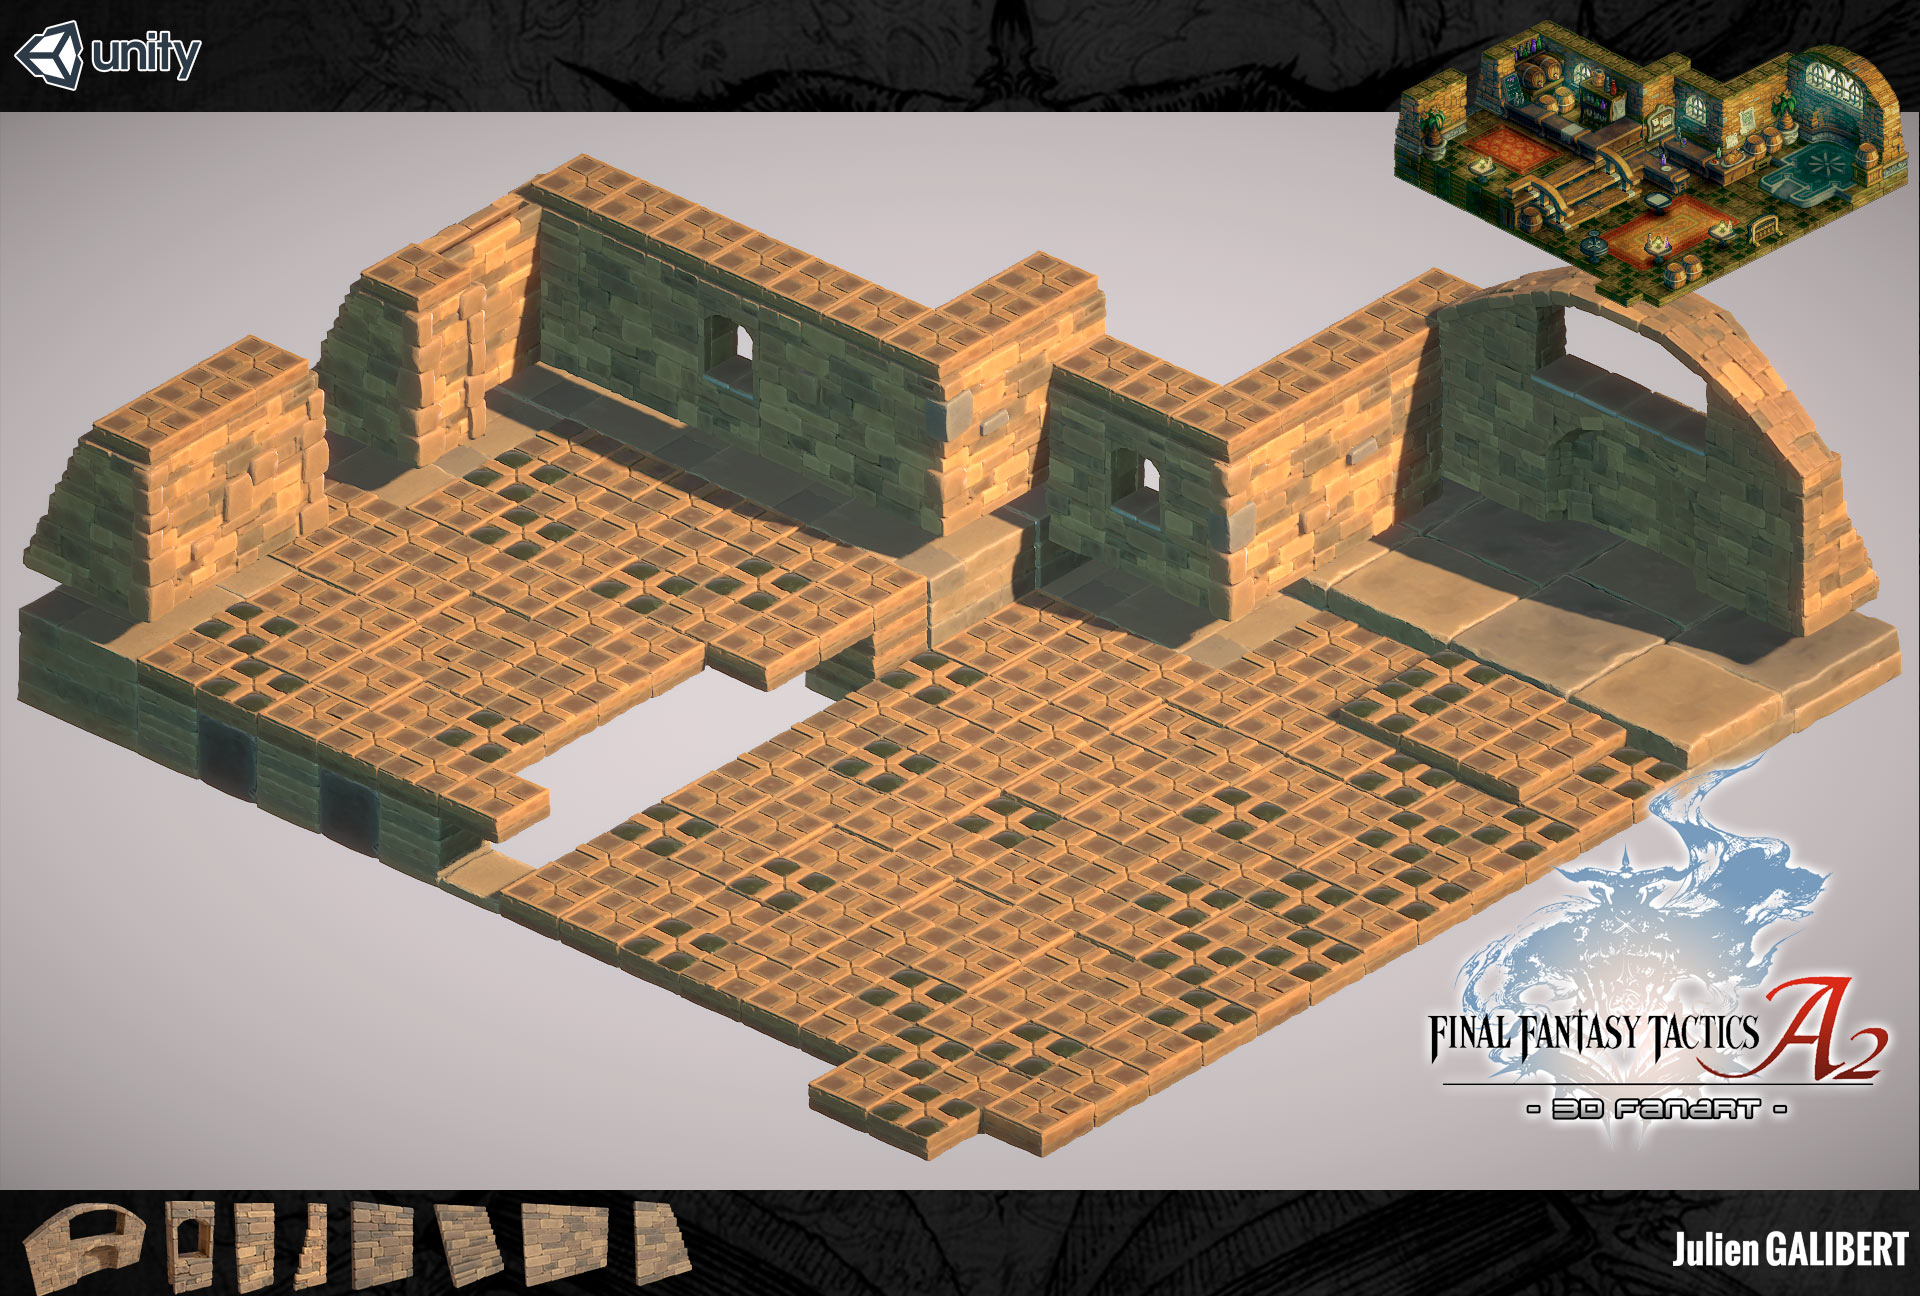
Now let’s build those walls! We’ve got a lot of work ahead of us!
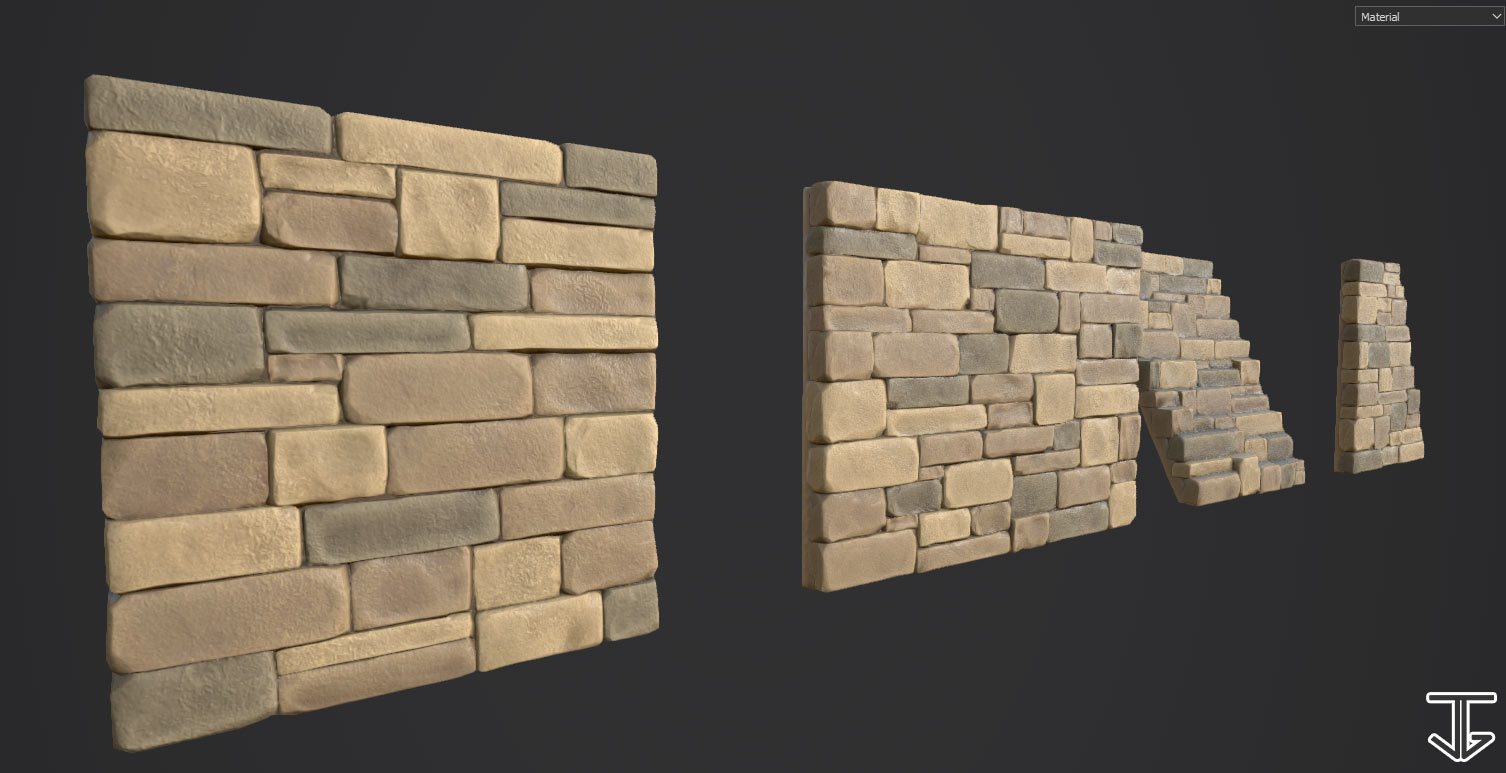
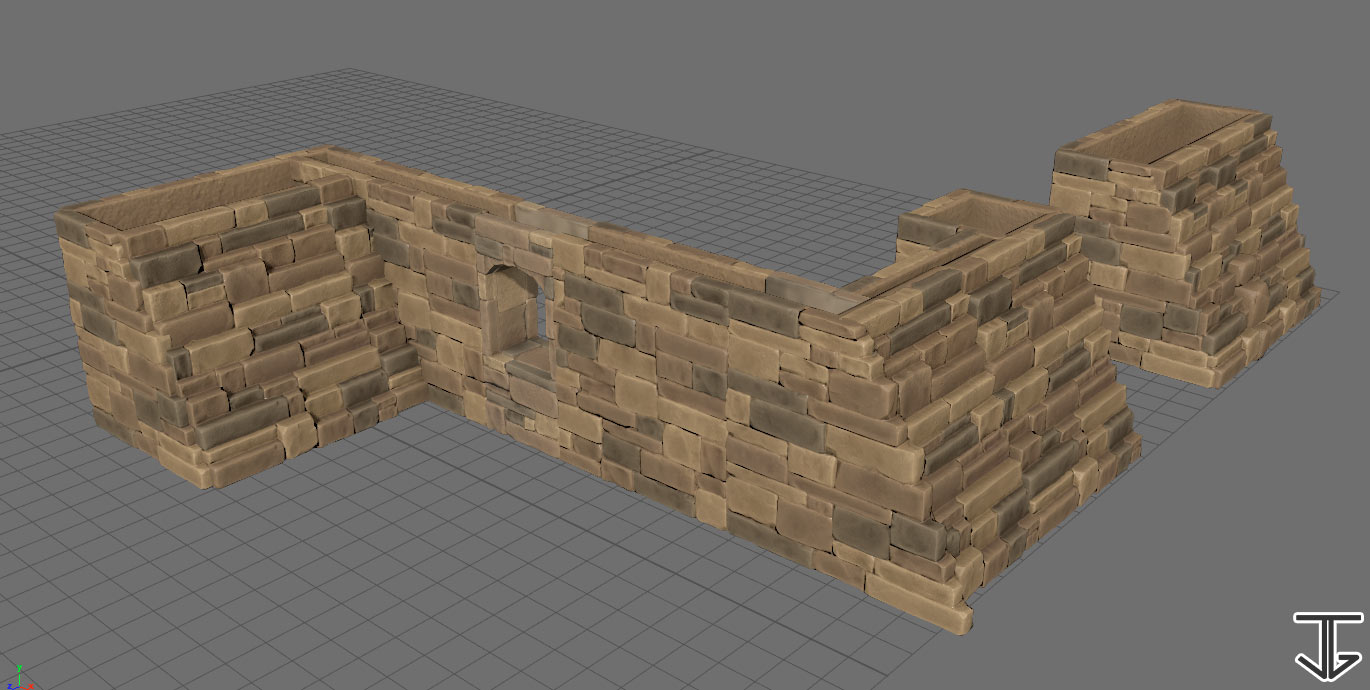
As you can see, I’m assembling these walls brick by brick… and there was a lot of them. You can see that they are a bit bigger than in their original reference. It was pretty much intended: since there are so many of them, having larger versions would ease up the tedious “brick by brick” part. So I just… “pumped” some air into them, made them a little puffier.
It was also a deliberate decision when it came to the overall style: it is a bit more cartoony, which is my intended goal!
Now… more screenshot !
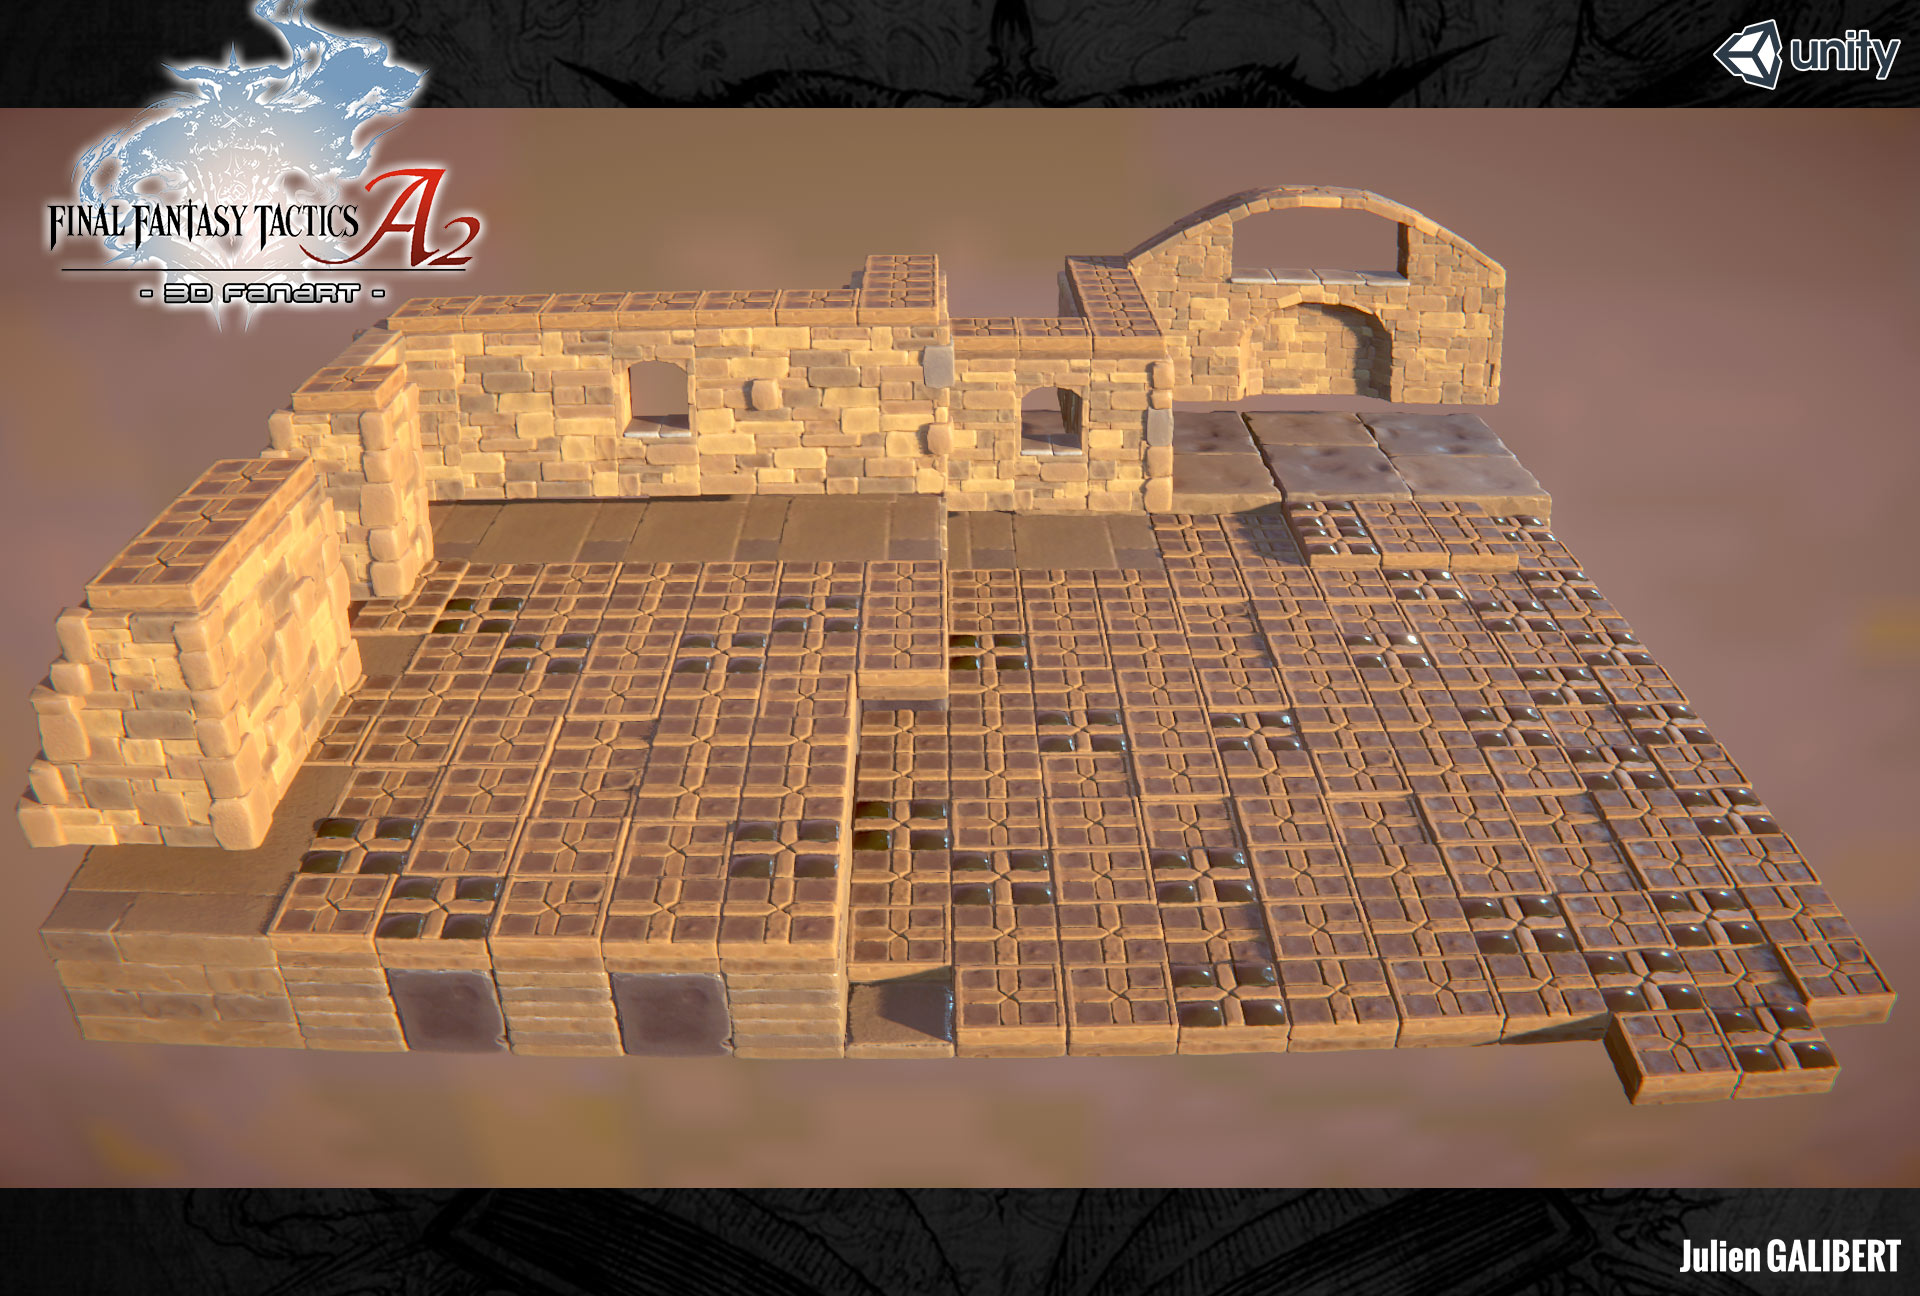
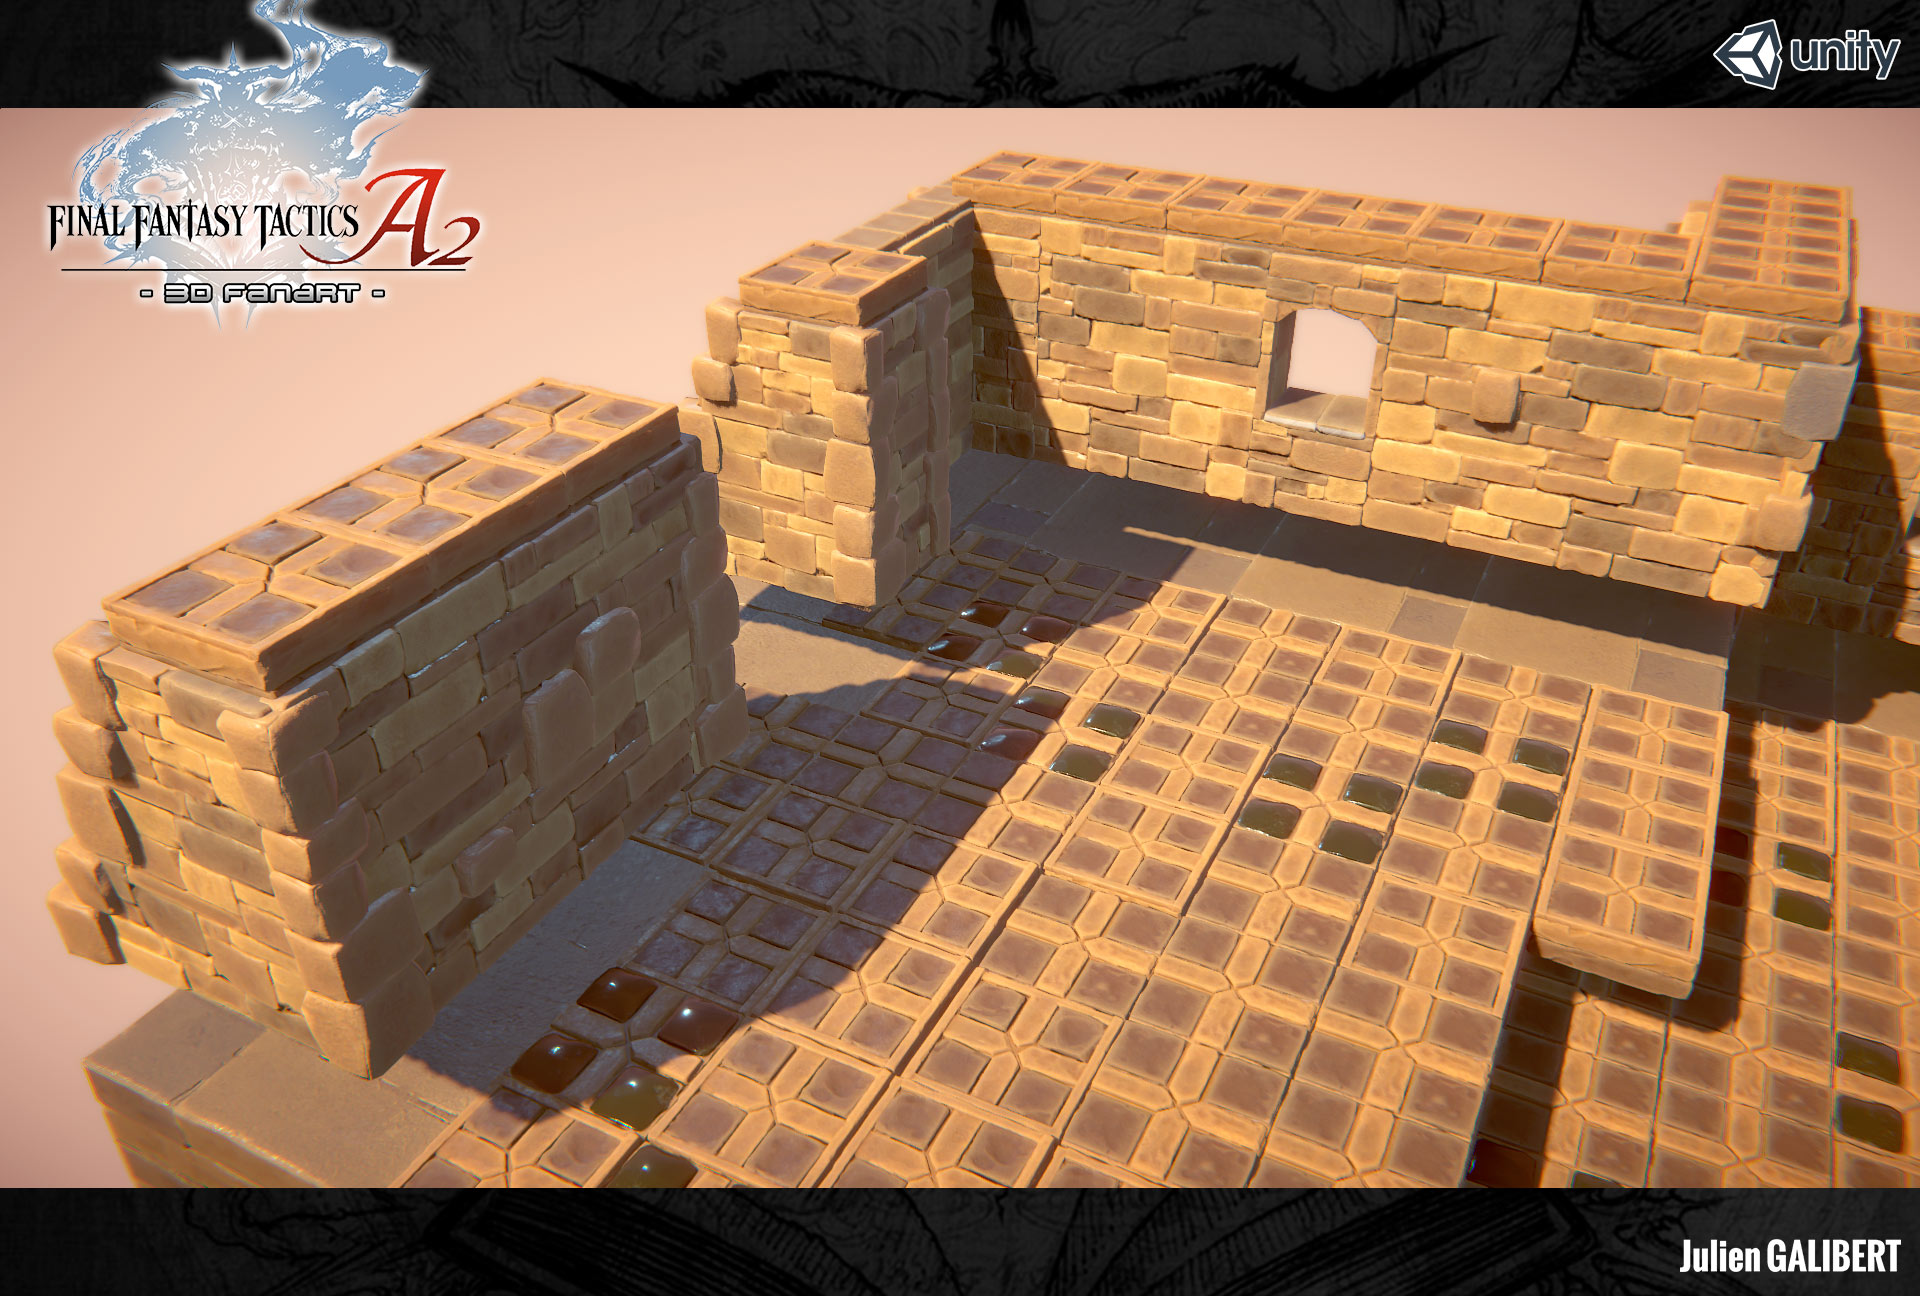
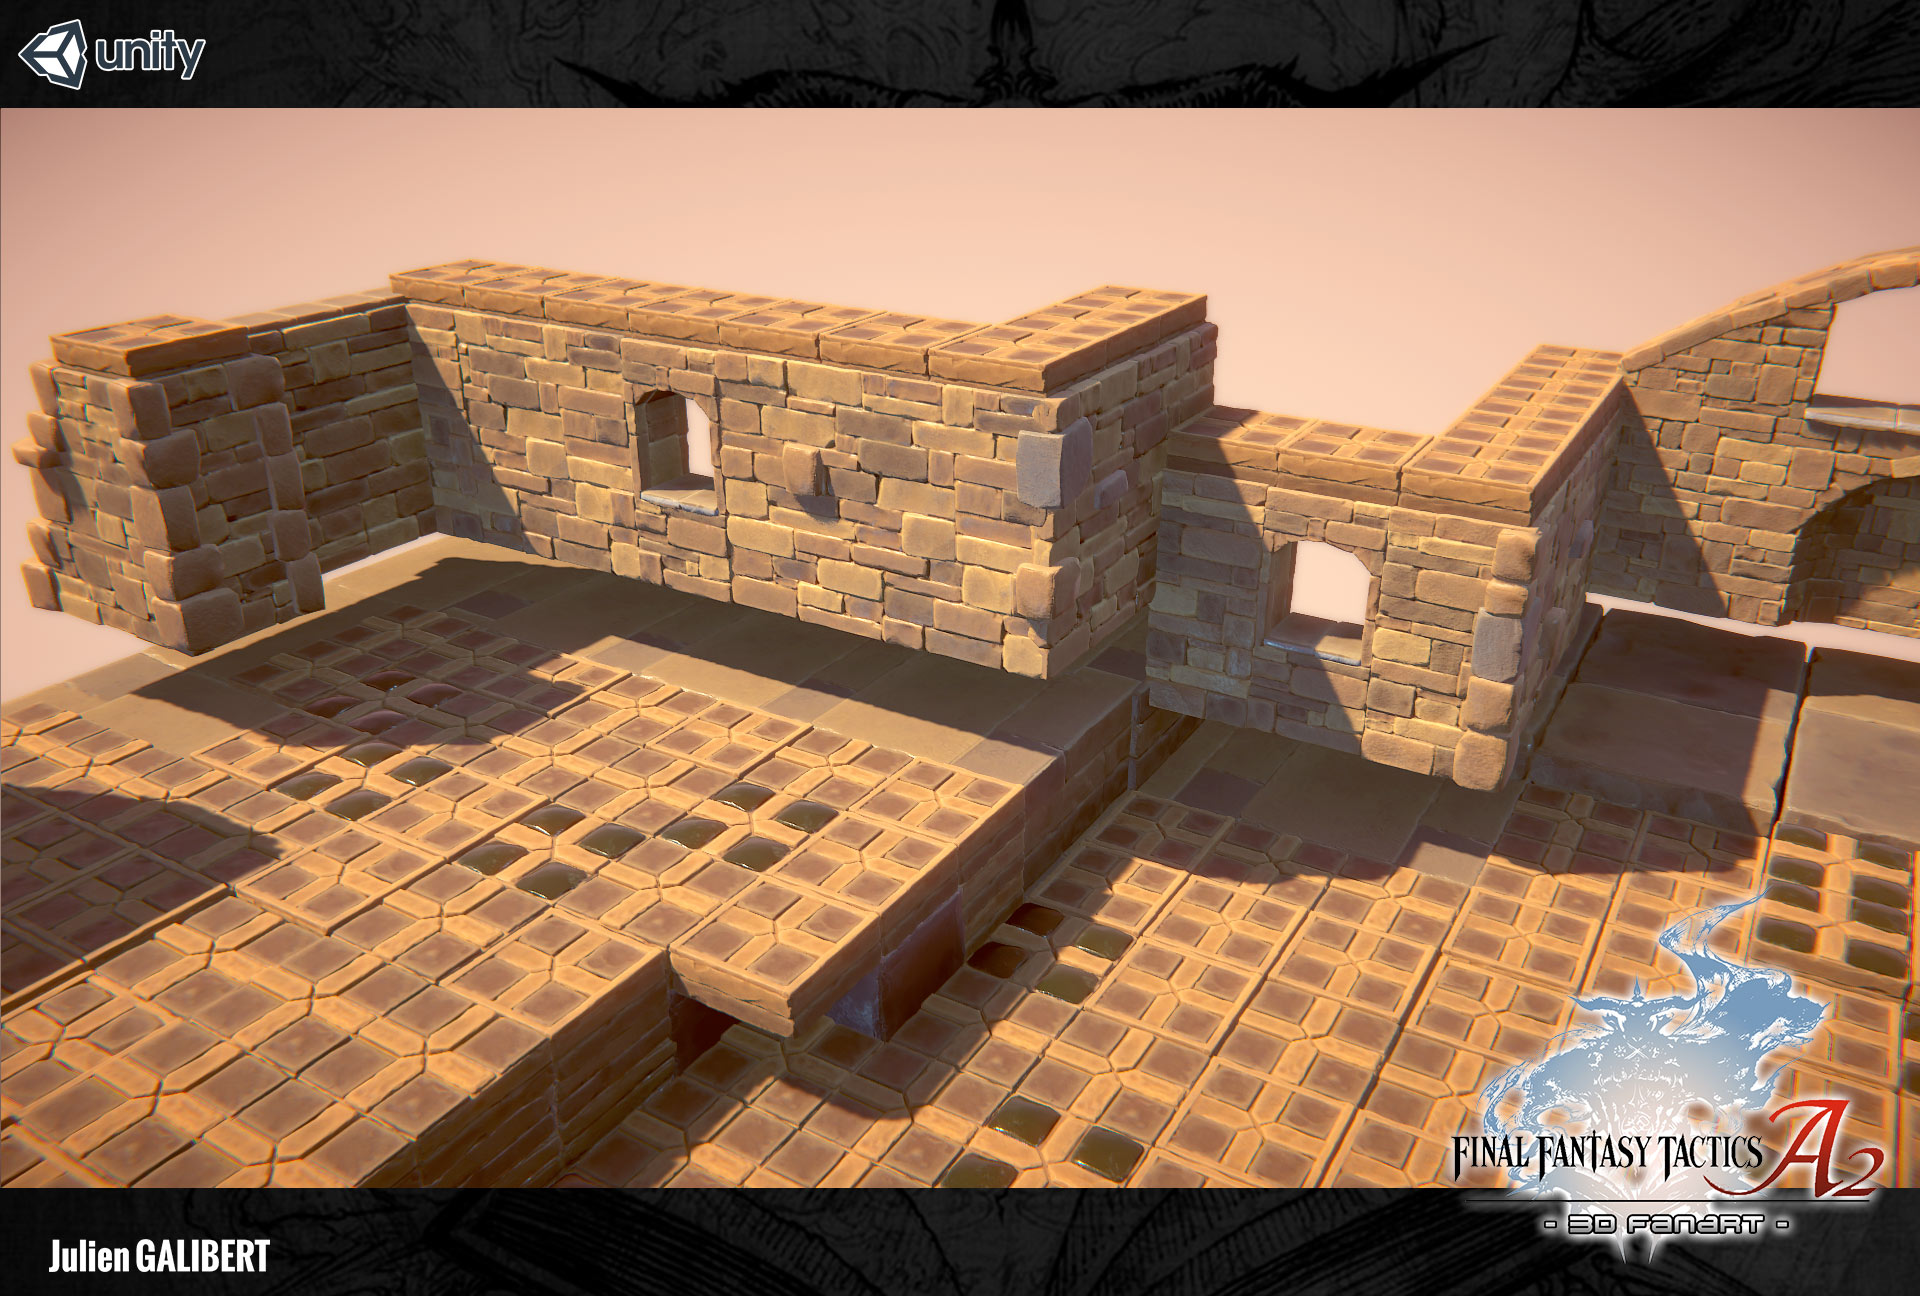
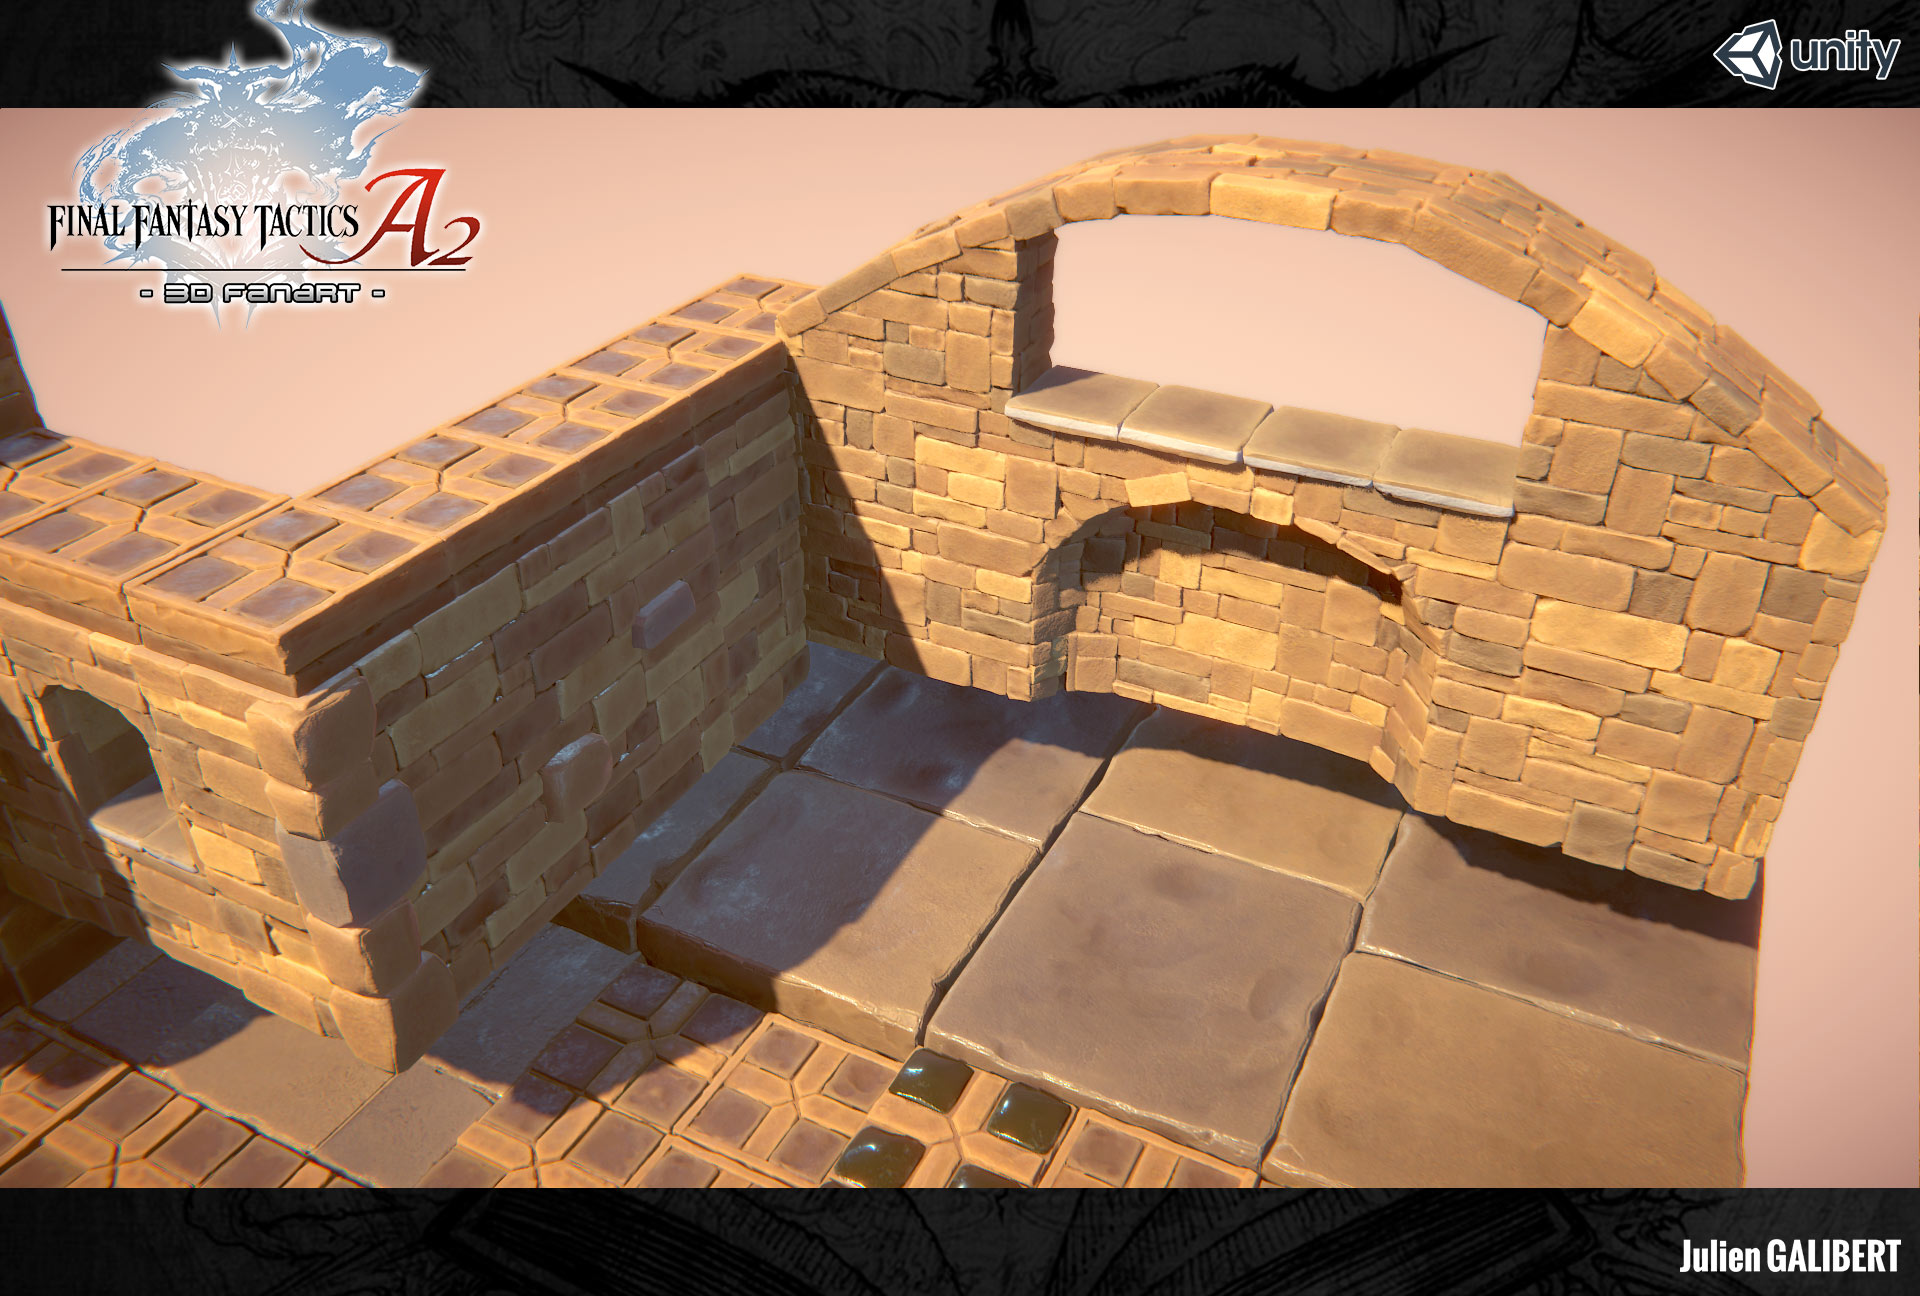
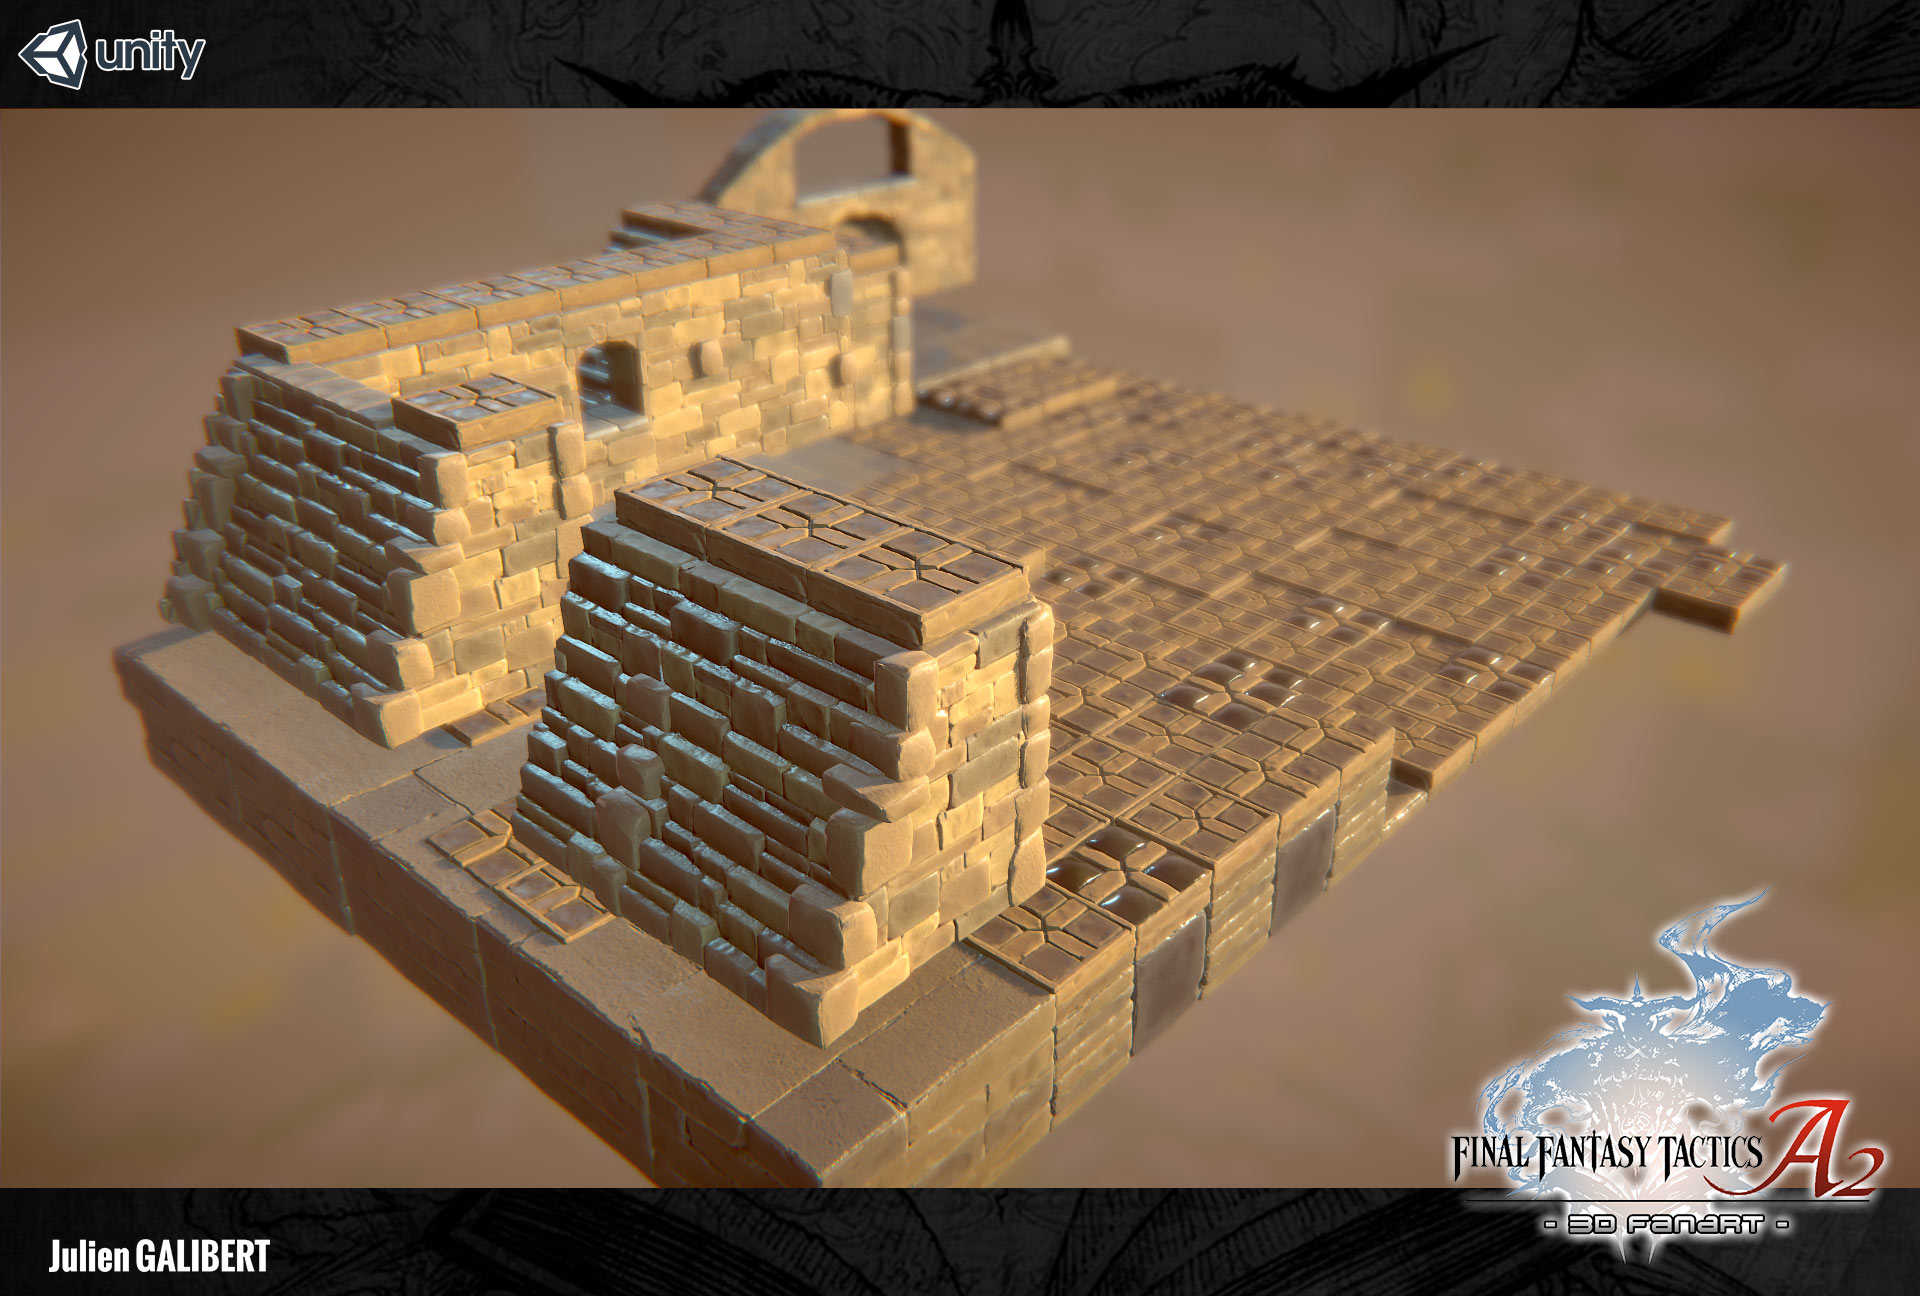
Other methods to build these walls exist, true but I definitely had fun building them like that!
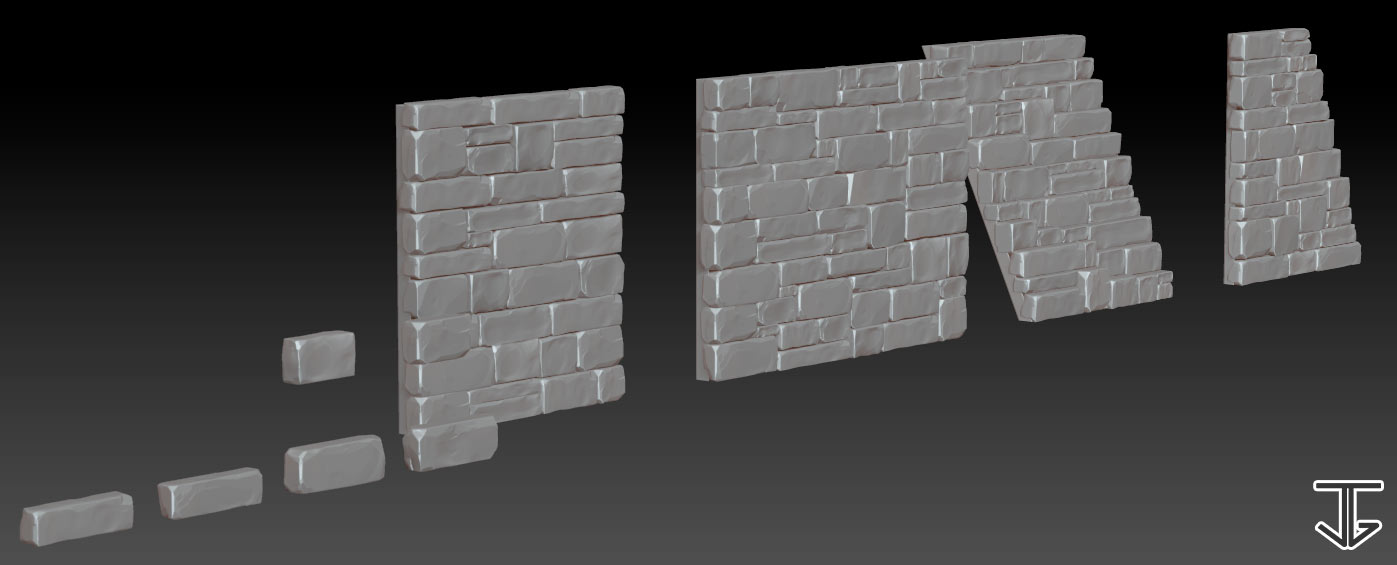
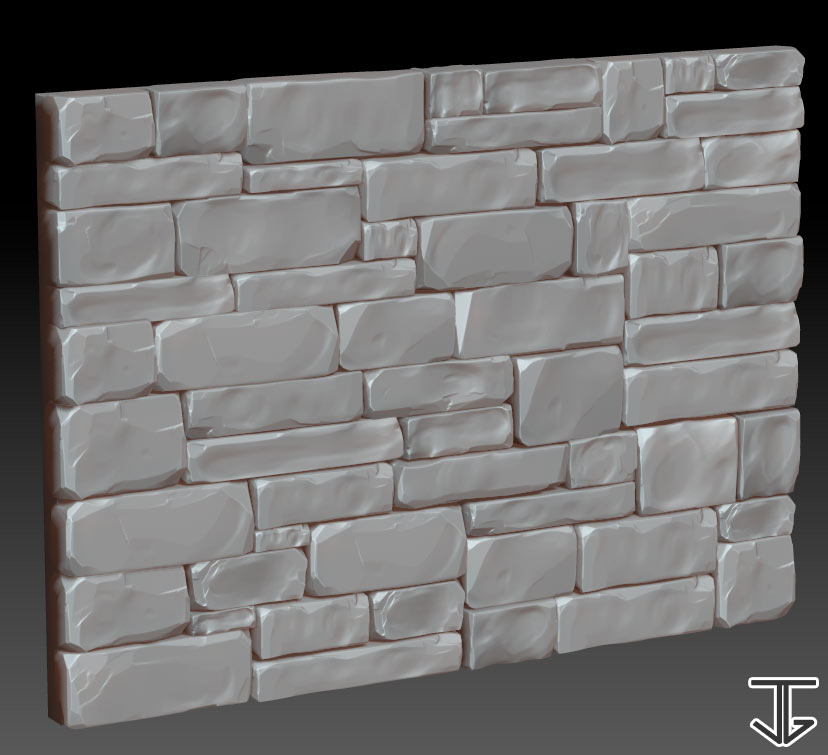
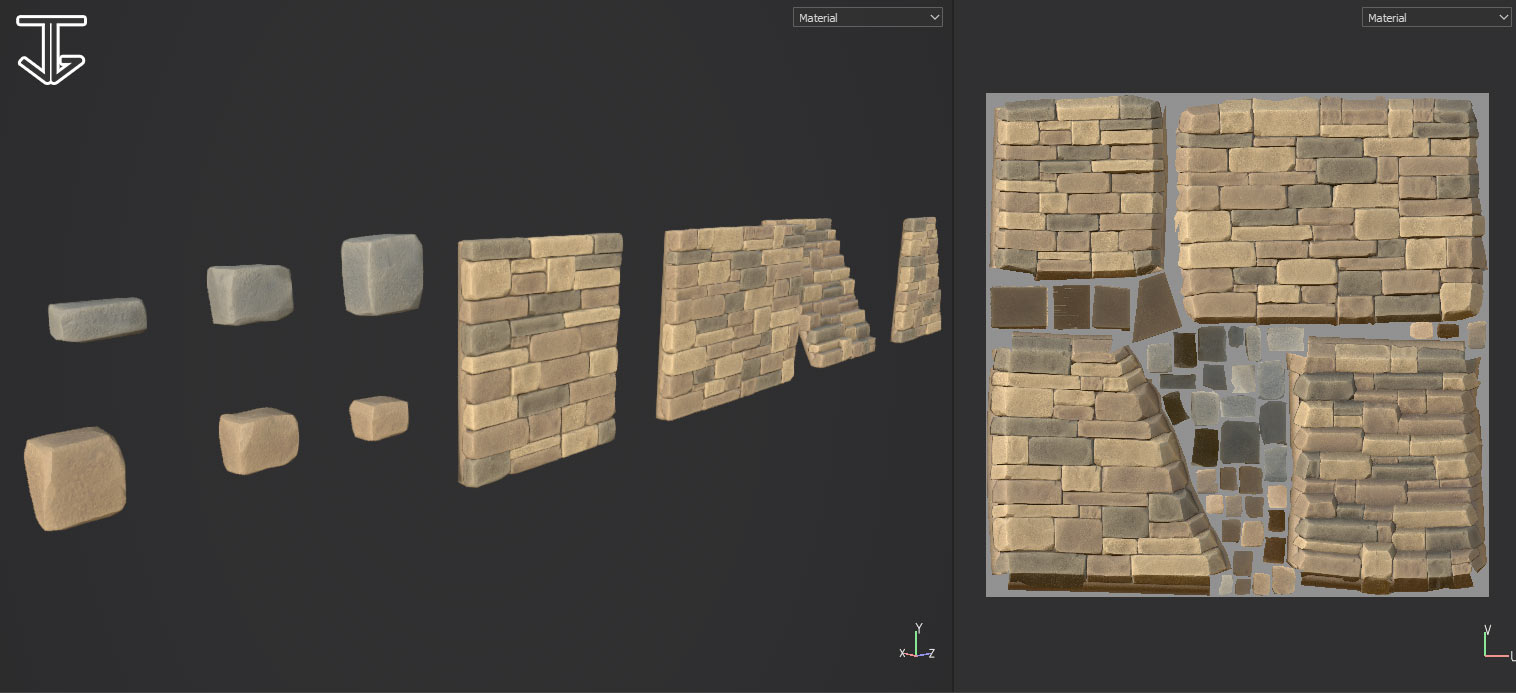
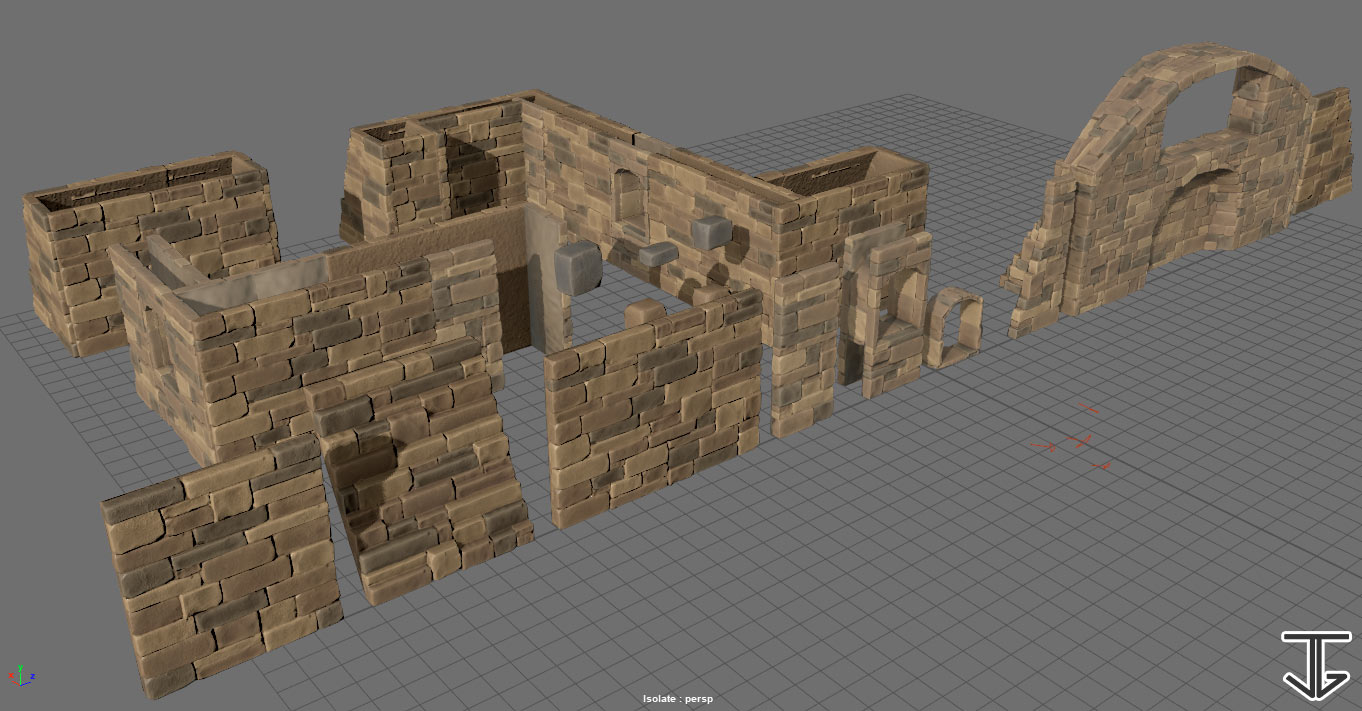
I defined beforehand how many types and sizes of walls I needed (I created a template for that purpose). After I sculpted and duplicated different bricks. I put them together and separately build one side of each wall. Then I assembled both of the sides together to create a full version of the aforementioned wall.
The main problem was the repetition. Many walls looked the same than others (pretty much because I duplicated them)
To change that feeling of sameness, I created some other specific bricks that I randomly put over the bricks walls that felt too identical. Very simple, but efficient!
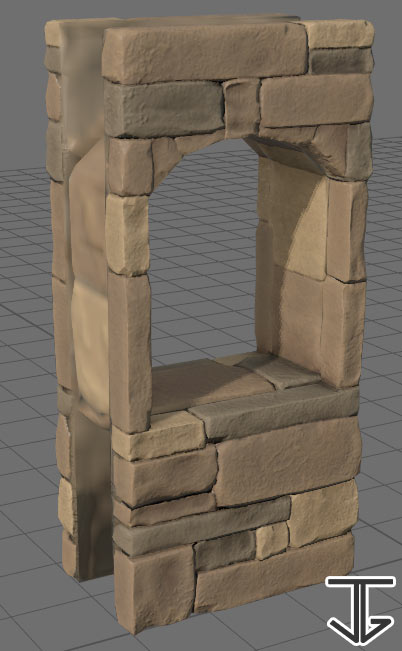
I also used these same bricks to make the corners.
Overall, I preferred this method because it looked like building something with LEGO. The only one thing that annoyed me was the ark wall… OMG it was so PAINFUL and LONG! (…but guess what, I survived somehow!)
Screenshot of the development:
Thanks for reading ! = )
Don’t forget, I’ll post the first Timelapse video thuesday !
Watch my previous one: http://youtu.be/Kd52eX2fj1A
Facebook Page: https://www.facebook.com/YurieDesign
Twitter: https://twitter.com/JulienPika
See you !

Stay connected