Hi everybody!
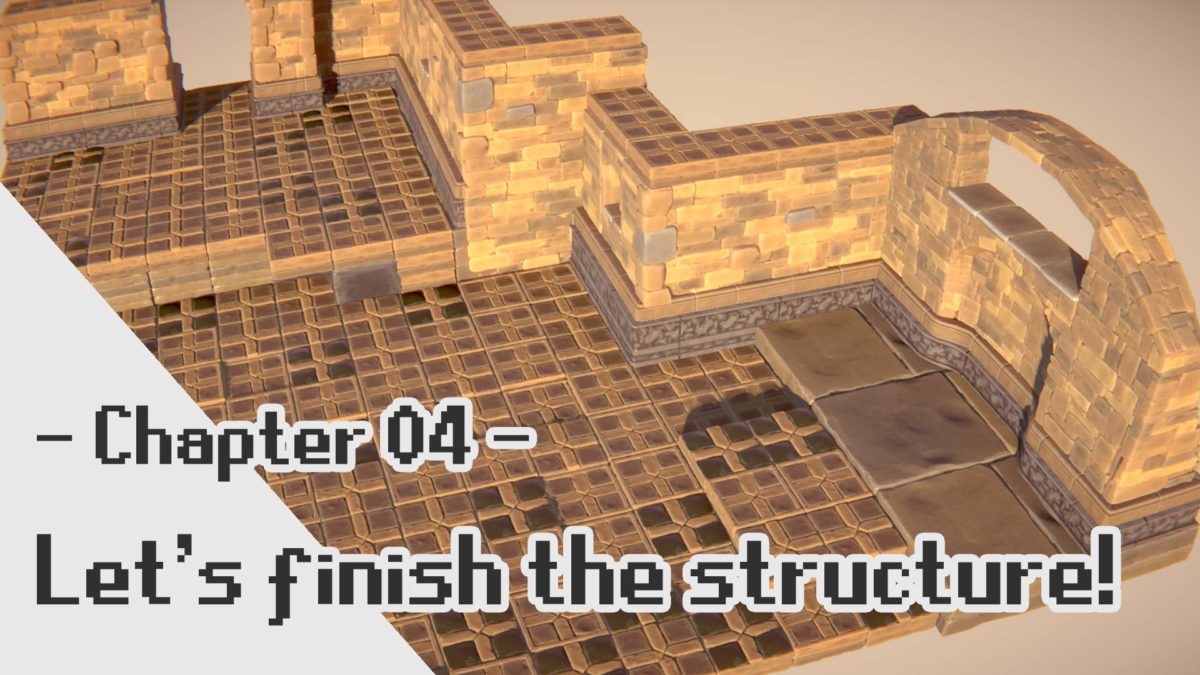
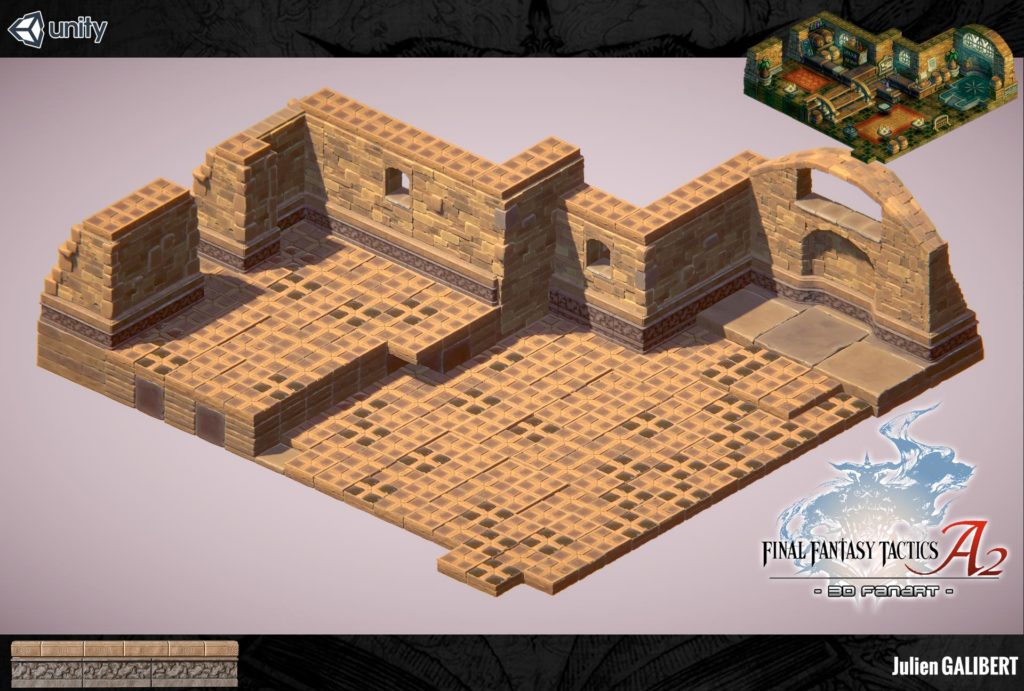
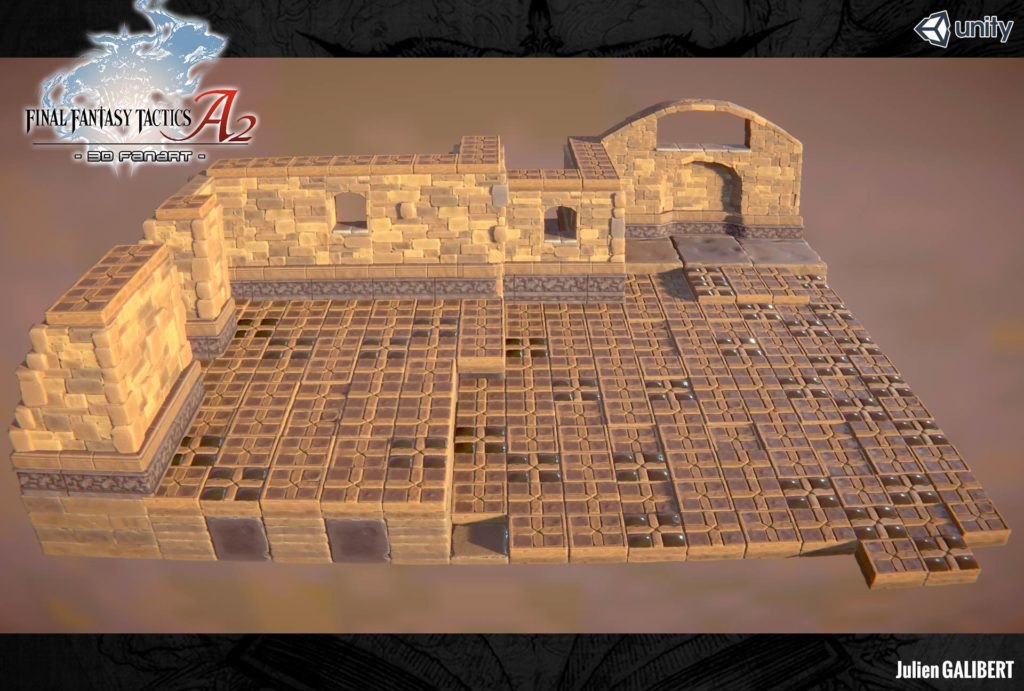
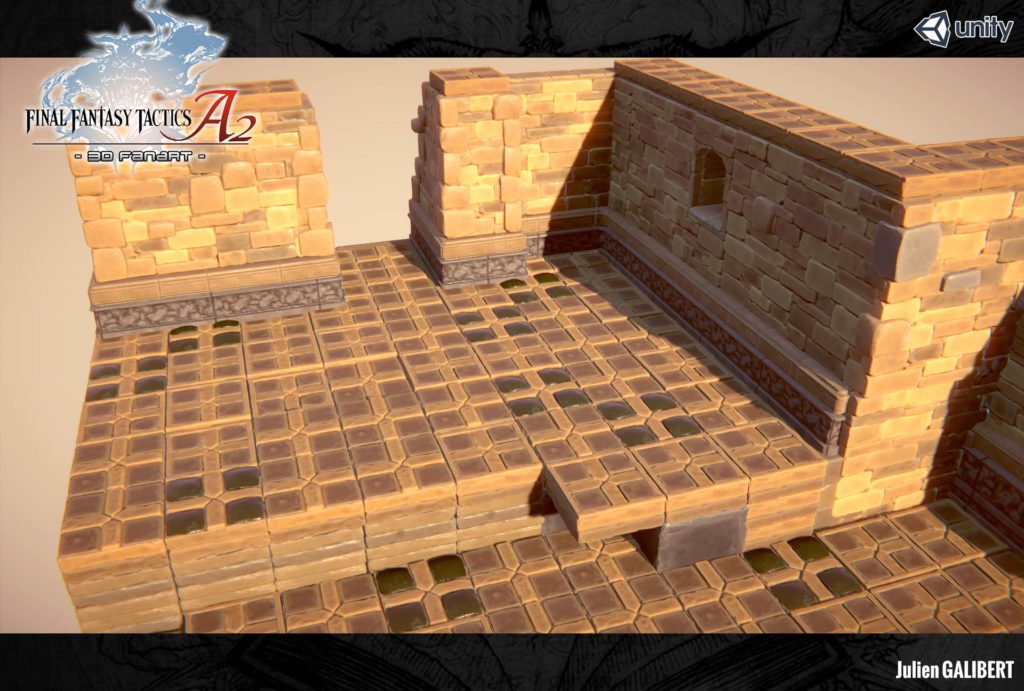
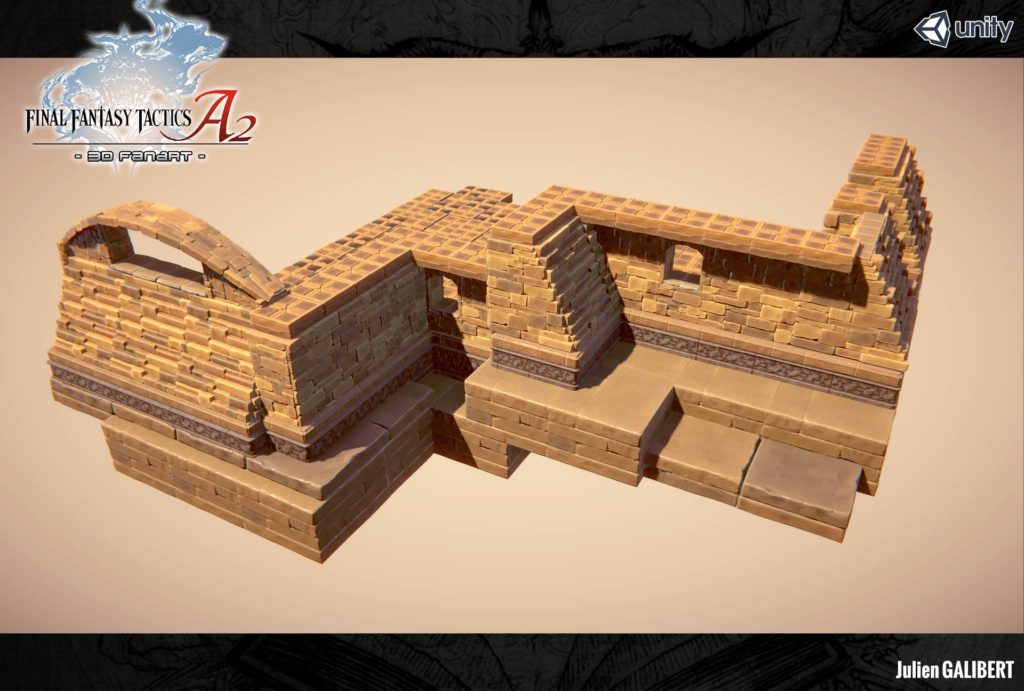
Last week, I showed you how to build the bricks in the inn’s walls. But something important was still missing: the baseboard … Today, it is done!

Generally, I have a lot of way to do my job, with a wide array of tools. An important aspect of my job is to define what tool – amongst them all – I should use to save time, without losing quality. It’s a real head-scratcher.
Substance Designer, I choose you!
I like that tool, and I really wanted to include it in my current workflow.
On top of that, it’s the perfect occasion to show you another methodology process : the procedural texturing. = )
What is a procedural texture?
Before any explanation, we need to address some terminology first:
Material: A material defines the optical properties of an 3D object: its color and whether it is dull or shiny. A texture is a pattern that breaks up the uniform appearance of the material. … Note that textures have to be attached to materials to affect objects, you cannot apply a texture to an object without a material. (Wikibook)
And what is procedural texturing, specifically?
In a few words: It’s a node-based way to create textures! (A node being a type of image processing.)
It is really practical, in the sense the modification you bring to an object are not definitive – you’re able to change what you have done very easily. It’s very powerful and has a lot of advantages.
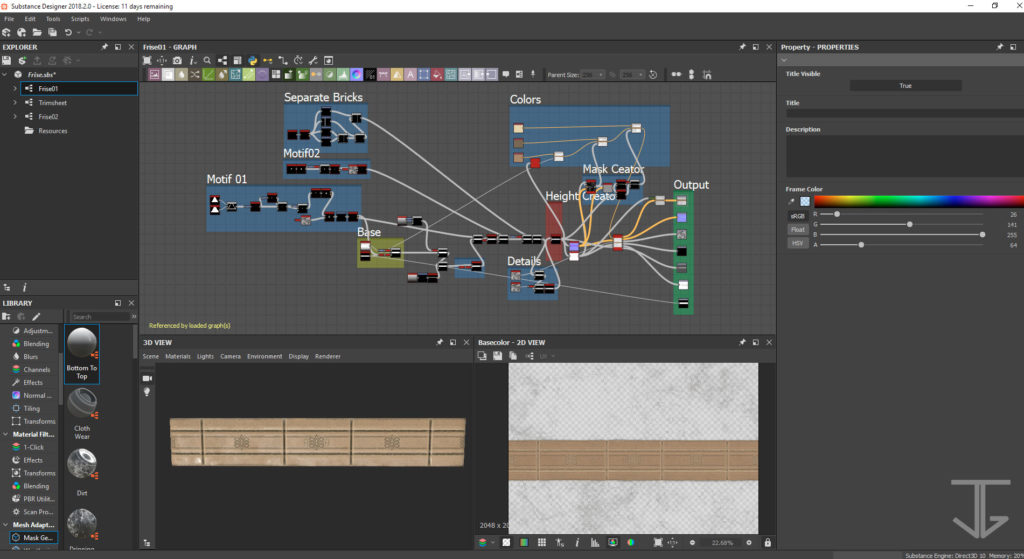
Substance Designer
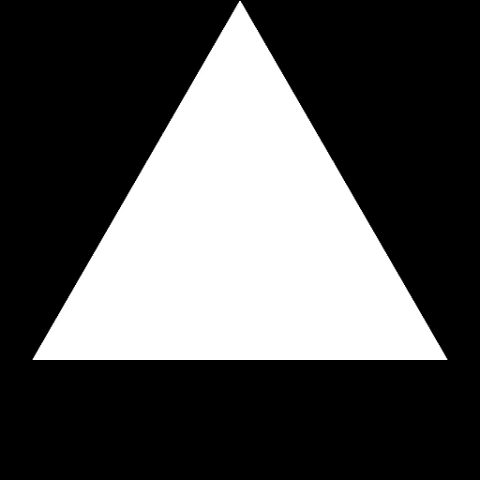
Pattern nodes
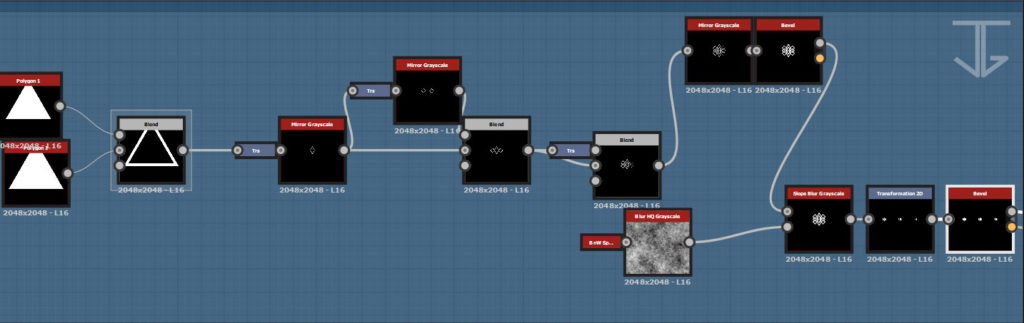
Step by step: Pattern creation
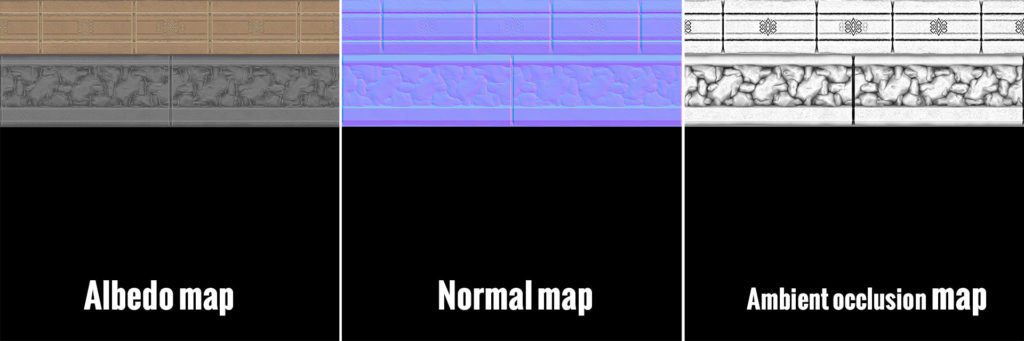
Some textures created with Substance Designer
Ok now, we have our tileable material! Let’s create the 3D model of the baseboard! = )
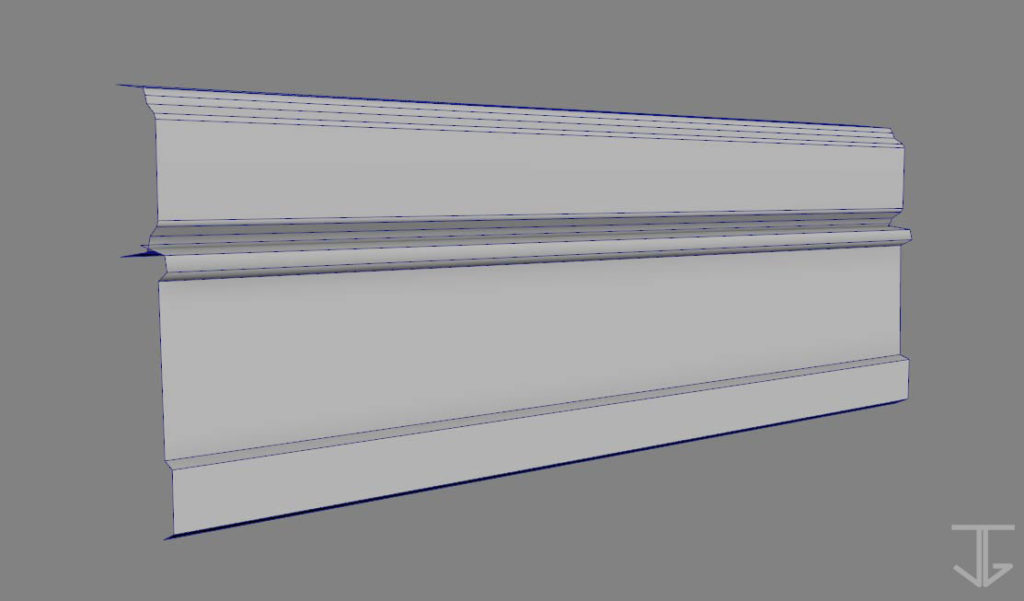
I created the UV’s of this 3D model and outfitted it to the tileable material.

And to finish, I adapted the 3D model baseboard to match with walls.
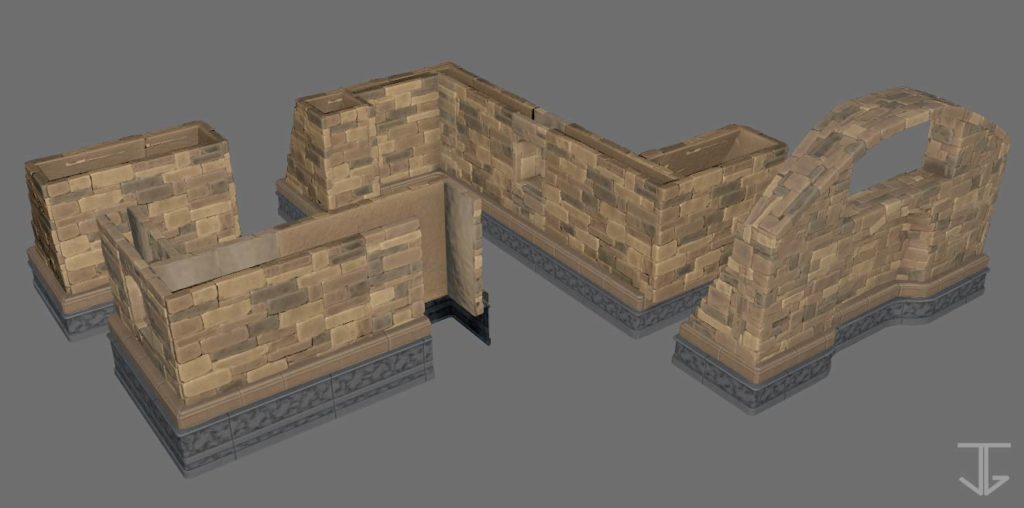
And that’s it!
I love this workflow! Quite simple and fast to boot.
I’m not satisfied by the current state of the “rock pattern” but, thanks to the node-based workflow, I’ll be able to modify it later very easily! = )
Thanks to following this project, I am very happy with your feedback. It is important to me. = )
Don’t forget to watch my video on tile-creation and subscribe to my new Youtube Channel!
See you ! = )
Stay connected